WHITE GLOVE MOVERS

4600 Commercial Ave. MARION, IA 52302
Move For Hunger Logo.

Moving Your Upright and Grand Pianos

Moving any kind of piano can be a daunting task. Follow these steps to help ensure you and your piano are both safe.

Piano Prep

First things first, make sure your piano will fit into the new space. Will it make the corners? Are the stairs steep and narrow? A piano cannot be tipped on its side, moving it upright is the only option, checking and double checking the new space is the very first thing you need to do. Once you have made absolute sure your piano will fit through all the doorways, these are the things you will need to move it.

Piano jacks!

Also known as piano dollies. These are designed to roll your piano easily across all surfaces. Do not use the piano’s rollers, the legs are not designed to hold the weight and move across carpeting. Always either lift the piano to relive the weight or use a piano jack.

Moving blankets and straps

If your piano is going to travel any distance other than across the room, be sure to secure any lids on your piano. Then wrap it completely with moving blankets. Don’t just drape the blankets around the piano, use tape to keep the blankets in place. The blankets will protect it against scraps and scuffs if it meets a wall.

Once the piano is wrapped, it’s a good idea to use straps to secure it to the dolly. Thresholds and other bumps in the floor or stairs could cause the piano to slip off the dolly and do some serious damage to your piano.

Optional equipment

Stair-climbing dolly – this is a dolly made with a toe-plate. This will allow for up-down switches to make stairs easier.

Moving the piano

Manpower

When asking for help moving your piano, always ask for more people than you think you might need. Typically, two people on each end of an Upright is what is needed. The piano will need to be lifted onto a dolly as the legs are not sturdy enough to carry the weight when tilted. (Piano legs are mostly for decoration and are positioned to center the weight across each evenly)

Keep it upright and centered.

Turning a piano on its side could untune it and hurt the inner mechanics. However, it is necessary to turn a piano on its side, make sure to have the weight centered on the dolly. It may seem awkward to have the dolly more to the left or right, rather than centered to the piano, but the weight of the piano requires this.

Secure it

Once you have loaded your piano into the moving truck, be sure to secure it to the side. To do this, place the keyboard side to the wall and strapped in place. Earlier you secured the dolly to the piano, you will want to separate them for transport.

Retune

Once you have successfully wrapped, moved and unwrapped your piano, you will need to have it tuned. As mentioned, putting it on its side is bad for the inner workings and that means having it checked out to ensure it sounds as beautiful as before.

Packing Artwork

You are either an artist or an art lover and you have decided to move. Read this before loading your pieces up for transport.

Things you will need:

  • Acid-free tissue paper
  • Bubble wrap
  • Cardboard sheets
  • Newspaper
  • Appropriate sized boxes
  • Painter’s tape

Framed Artwork

The frame itself provides a little more protection than just a wrapped canvas, but do not think the frame will provide all the protection needed. Your piece either has a piece of glass over it, or the canvas is exposed. Should the glass break while moving it could scratch your art or rip the canvas. If the canvas is exposed, a corner of box or another frame could stretch or tear the canvas. Here’s how to properly protect it.

Use the acid-free tissue paper to protect the original artwork from the elements while moving. Even touching the painting with bare hands transfers our natural oils onto the piece. The deterioration is not instantly visible, but it will be over time. So wrap the entire piece with this and use the painter’s tape to secure.

Next, wrap the piece in bubble wrap making sure to cover the corners. While not required, a corner triangle will further protect.

Now you will want to sandwich the piece between the cardboard sheets and tape them together.

Place the piece into the appropriately sized box and use the newspaper as a filler to keep the piece from moving. This is especially helpful if loading two or more pieces into the same box.

Unframed artwork

The steps are very similar when packing an unframed canvas as a framed canvas. Still, wrap the entire piece in the acid-free paper, but this time you can use the cardboard sheet to insert between two canvases. Bubble wrap all three pieces together, again taking extra care with the corners.

It is important to note that the cardboard sheet should be larger than the canvas. If this means using two sheets, do so. This will help protect both pieces.

Where to load it onto the moving truck

Now that our beloved artwork is protected we need to place it on the truck strategically. Laying this box flat will defeat the purpose of the work you just did to protect it. Keeping the box on its side helps to absorb the pressure of the bumps during transport. Placing it the front of the truck, on the side or between to larger pieces will further keep your artwork safe from damage.

Unpacking

When unpacking your artwork, try not to use any sharp objects. The nice thing about painter’s tape is that it will hold when it needs to, but you can remove it easily as well. Unwrap your pieces and hang them where you will continue to enjoy them!

Moving your finned fish friends

With most pets, moving can be stressful. New smells, sounds and startling new noises. When it comes to your fish, the chemical makeup of the water is the biggest stressor they experience. As with any pet, you will want to transfer the fish from the tank as close to the move time as possible, and be sure they are back in their tank before anything else is unpacked or moved in.
Here we will talk about a few basics to get your finned friends all set up in their home.

Tear down

When moving, we can’t stress enough the importance of using as much of the same water as possible. You will want a couple of five gallon buckets – completely cleaned out, or new – and start taking out the decorations. You want at least two buckets because you will use one to transport the decorations and mechanics that do not need to be in the water and the other bucket will be for your fish and plants that do need to be in the water. (if your fish are too big for a five-gallon bucket, you can use totes; just be sure you can carry them without splashing the water out.) Also, as you are removing the decorations, pay attention that your fish or other creatures are not clinging to it.

Gravel, pumps, heaters and filters

It is recommended that the gravel should be completely removed from your tank during transport. The reason for this is stress to the tank. The weight of the gravel could cause the glass to break.

Anything motorized must also be cooled. The heaters and filters use the water in the tank to cool themselves, so do not leave them plugged in or plug them in without having appropriate levels of water.

Moving day

You have transferred the water from the tank into the buckets, having left some for your fish, and only filling the bucket about two-thirds full. It’s time to find the fish catcher and scoop them up so you can put them in the bucket. You have already made sure no one was hiding in the decorations, so count them as you transfer them. They may decide to try and hide among the plants or other items in the bucket with them. Also be sure to keep the more aggressive fish isolated, so perhaps they have their own penthouse suite in another bucket.

Dump the rest of the water out of the tank. The tank is put together with glue at the corners and is designed less for travel and more for flat firm surfaces. So use bubble wrap, moving blankets and tape to secure it if you are traveling a long distance.

Reassembly

Once you, the tank and the fish have arrived at your new home go slow at reassembly. Gravel first then pumps, heaters and filters. Remember what we said earlier though, they need water to work properly so do not turn them on yet. Decorations and water from the buckets. If you have to use tap water to fill the rest of the tank, do not reintroduce the fish until it’s been dechlorinated.

Use the net again to transfer the fish from the bucket. Pouring them in is added and unnecessary stress.

Lastly, let the water temperature adjust to the room temp and then turn on the pumps, heaters and filters.

Moving Sales

You are moving! Congrats and let’s take this time to let someone else enjoy our treasures so we don’t have to take them with us! Let’s talk about ways to make the most of your moving sale from getting started to day of tips. We have all been there. Moving and not wanting to take all of our belongings with us. Some we don’t need or use any more. Some we are just tired of looking at while it sits in the corner collecting dust. Or maybe our old décor just does not go with our new house. Whatever the reason, we are having a moving sale!

Getting started

Designated space: find a room – basement, office, spare bedroom – and make it the sale room. Clean it out, the best you can, and start moving the now-unwanted items in. Be sure to have a strategy though, piling everything into this room will not help you in the long run. Try categorizing areas by such things as home décor, trinkets, furniture or by rooms like kitchen or bath. Then move the least used, or least liked pieces first. Go grab those boxes in your storage room that have been there since you moved in, those boxes you had forgotten about, and figure out which category their contents fall under. Don’t spend too much time on these boxes though, the things in them have already been forgotten about. Lastly, if you are going to make a list of everything you are selling, this would be the time to put it together.

Set prices

This is even more difficult than deciding what to sell. Undoubtedly, the items for sale range from valuable to barely worth the price of the sticker. Knowing not everything needs its own sticker makes this part a little easier. The less expensive items can be grouped together and marked accordingly. For the pieces you know are of higher value, it might be worth it to research a reasonable price. Make sure to be as objective as possible with your pieces, marking an item too high could mean it makes the move with you.

Display

A moving sale should be organized for the customers as well. Think about when you were shopping for these pieces, was it buried under another piece or displayed nicely? If you are selling clothes, hang the nicer pieces and group size and/or colors together. If you have space, hang the wall art. Finally, play some music and use colorful signs to draw people in.

Here is a small checklist of day-of things to do:

  • Ask for help! A moving sale will always draw people in so be sure to not be the only person working your sale.
  • Make sure anything not for sale is out-of-sight.
  • Restrict access to your house and keep your pets inside.
  • Talk with people while they shop. People buy from people, this is true in retail as well as in a moving sale setting.
  • Keep your money safe, either a money box or a fanny pack will help with this.
  • Bags/boxes for people to carry their new treasures
  • Did you create an inventory list? If so, cross off the items as they sell.

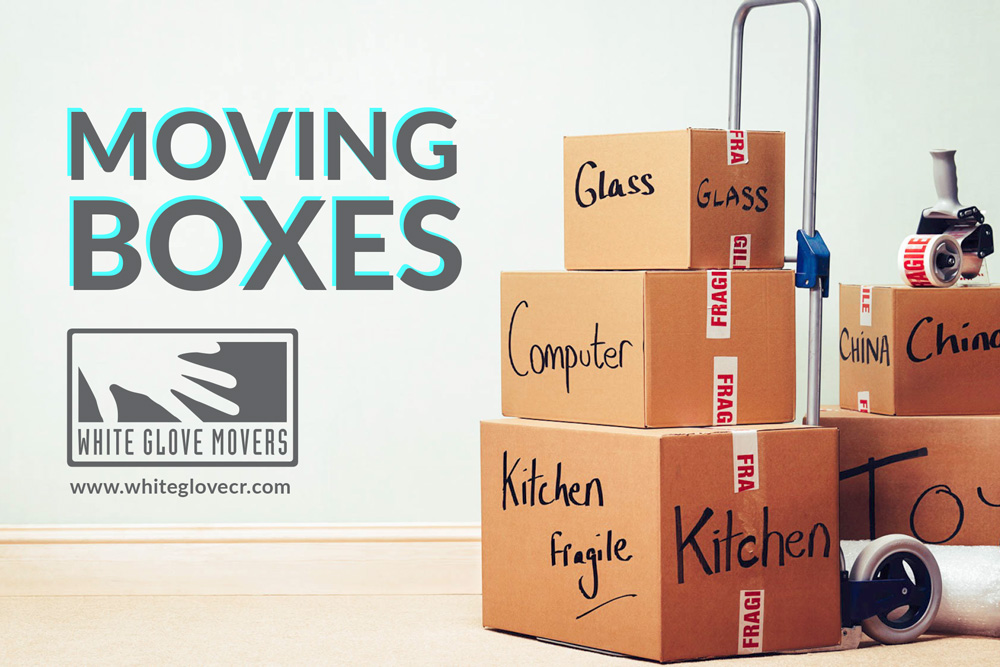
Moving boxes, what to do with them

Moving to Iowa on a winter maybe a cheap option, but this is something you should think twice, especially with snowstorm frequently visiting this area.

What to expect during an Iowa Winter Storm?

So how does an Iowa winter storm look like? It is often characterized by rain with snow and occasional sleet. This makes it easier for vehicles to drive on the road. As a result, your moving day may be moved to a different date.

Due to this, it is important to know the policy of your moving company in Iowa for situations like this. Will they be willing to postpone to move? If so will there be additional charges if you move it to a different date?

Be clear with this and put it into writing.

As for your new home, it is also best to discuss this matter with your real estate agent or landlord. Since you can’t move out because of the storm, whoever would wish to occupy your place will also find it difficult, if not impossible to move it. What options would you be given should this issue arise.

Create a travel route

If it’s not possible to move your transfer to a different date, then the next best solution for you to make is to find the safest route. Check if the highways are open and if these areas are safe for travel.

Write emergency phone numbers and websites and place it in your wallet so you can easily ask for help should you be stranded somewhere along the road. Better yet, look for a location where you can stay overnight in case you do need to stop.

Ensure your car is well maintained

Your most trusted while on the road to your new home in Iowa would be your car. So guarantee that is in good condition before you hit the road by checking the following:

– Are all the fluids topped up?

– Are the tires and breaks working well?

– Is the engine in good condition?

Bring an extra gas can with you, kitty litter, or a windshield fluid. Pack a good snow shovel and emergency blanket should you need this while on the road.

Do you have other winter tips to share with other movers? Be happy to share it with us.

Moving and Utilities

Moving requires our current utilities to be shut off and a new set of utilities to start. Here are a few things to help you make this transition as smooth as possible.

Make a list

Listing your current utilities will help you to remember to contact each company and to know if they provide service in your new area. Here’s a list to get you started:

  • Electricity
  • Gas/Propane
  • Water
  • Waste/recycling
  • Landline
  • Cable
  • Internet
  • Home Security

Get the details

Often we don’t remember if we said the right day or who we talked with, so on the list we just made, here are the details to write down.

  • Whom you spoke with and at what time and day
  • When the current utility will end
  • If someone needs to be home
  • When the new utility will start – if transferring
  • Do they service the new address
  • And transferring or refunding any deposits
  • What to do with equipment
  • Final Readings

Utility companies will come out a do a final reading before shutting off service and can be deducted from any deposit made at the beginning of service. Make sure the check the final bill, which means you need to be sure to provide your new address.

Asking for discounts

There is nothing wrong in asking for a discount on a new service, or to incentivize a company to keep you as a customer. Typically your electric or gas provider are not able to do discounts, but you could ask about budget billing. Budget billing will keep your monthly payments at the same price and adjust either annually or bi-annually according to your usage. Cable, phone and internet providers typically have plenty of discounts to offer.

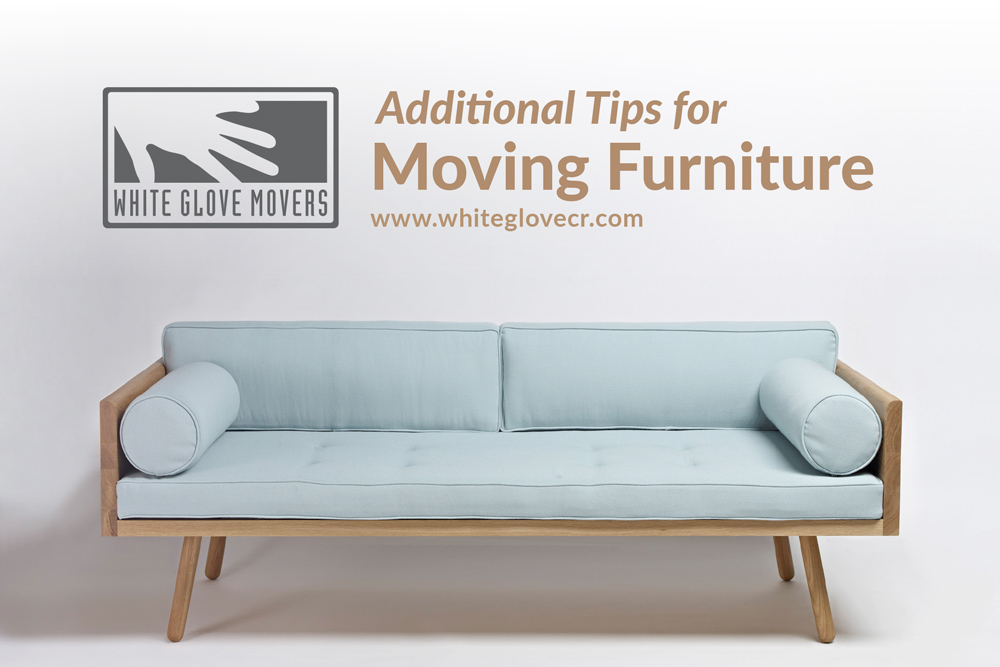
Additional Tips for Moving Furniture

Below you’ll find a list of additional tricks that will make moving your bulky pieces of furniture as easy as possible.

Wrap your furniture  Remember to protect your furniture just as you would your antique vase. Moving blankets are going to be invaluable to you throughout the process not only because they can help move your furniture but also because they will protect the pieces. Look into rental options or consider purchasing some cheap moving blankets at your local home center. You’ll need to protect the finish and edges of dressers, tables, and other furniture and you can use your moving blankets to do so. Once you’ve moved your items and wrapped the moving blankets around them, use stretch film to further protect the pieces  

Sling it up – The last thing you want to do on moving day is waste time wrestling with the mattresses in your home. Some mattresses are still made with handles but are no longer meant to be carried that way. Such handles are actually intended to help you position the mattress on the box spring, so they’re not very strong. An easier way to move a mattress is to make a simple rope sling that will give you and your partner more control when moving it.

Construct a plan – When moving to a new house, try to determine ahead of time where your furniture pieces will go. Before moving day, take some time to sketch out a rough floor plan with the correct measurements of each of the rooms. Then measure your furniture and create your template. During your moving day frenzy, place your furniture in the correct spot so you don’t have to rearrange everything later. If you’ve hired a residential moving company, give them a copy of the floor plan or tape one to a wall in each room so they can determine where things go at a glance.

Remove the backs from your recliners – Any little thing you can do to make moving day go smoothly is recommended. This includes taking the backs off of your reclining furniture. To do this, locate the brackets on the inside or outside of the back frame. Then lift the locking levers and slide the back upward to remove it. Doing this extra step will reduce the weight of the piece as well as the bulkiness. You should always lift a recliner from its sides and not by the back or footrest anyway.

Disassemble the pieces that you can – When you have to get a big, bulky sofa through a doorway, remember that taking the feet off will make it much easier. Though you may only be gaining a few inches, you’re still gaining a few inches of clearance. With other furniture pieces, try to make them lighter or slimmer as best you can by taking off removable parts. Consider knobs, doors, racks, legs, mirrors, and drawers when doing so.

Prepare to ramp it up – For the heavier items, create a scaffold or ramp to maneuver items in a much easier fashion. Your muscles will thank you later that night when they’re not as exhausted as they could have been.

Finding the perfect neighborhood

The neighborhood is just as important as the house. Think of it like finding your perfect mate and the neighborhood is his/her closest friends and family. It helps to enjoy both, right? Here are few things to consider when looking into a new neighborhood.

Know what you want

You can find the most amazing house in any neighborhood. The only thing that matters is that you know yourself well enough to know what you really want when you start your search. Start asking yourself the hard questions after you have been pre-approved. Make a list of you must-haves and then move a few of those to the nice-to-have column.

Parks, Children & Community

If you have children the first question you will ask is about the school. Is it the district you want? The next thought is whether or not there is a park close by. Is it walking distance or driving? Lastly, some neighborhoods are communities within communities; grocery stores, coffee shops and other places to get to know your neighbors, is this important to you?

Drive time

Our commute is important. While some people enjoy a longer drive from home to work, ask yourself if you are happier in the car or enjoying more at-home time.

Research

In addition to your home inspection report, do a little research on the neighborhood. Have the neighbors had issues with water in their basements, or old pipe. While these things should be disclosed, there is a chance they are unaware, but if your new neighbors have had issues, you might as well.

You’ll also want to research crime reports. You can do an online search, or call the local police department.

First Impressions

When you first look at the house, don’t focus too much on the house, while important, you may miss other clues. What do you see? What do you hear? What do you smell? All of these senses are our main source of information, so use them to your advantage. If the wind blows from a certain direction, what do you smell? Do you hear children playing or is the sound of the highway more prominent? Drive around the block and look at the other homes, what do you see?

Visit Multiple times

You will get a much better sense of the neighborhood if you visit at different times of the day and week. What is the neighborhood like at night? Is it well lit? Are people outside talking with each other, grilling and watching the kids play or do they all stay inside their homes or backyards? What’s the parking like? Do the neighbors have multiple cars and your potential new street is now a parking lot?

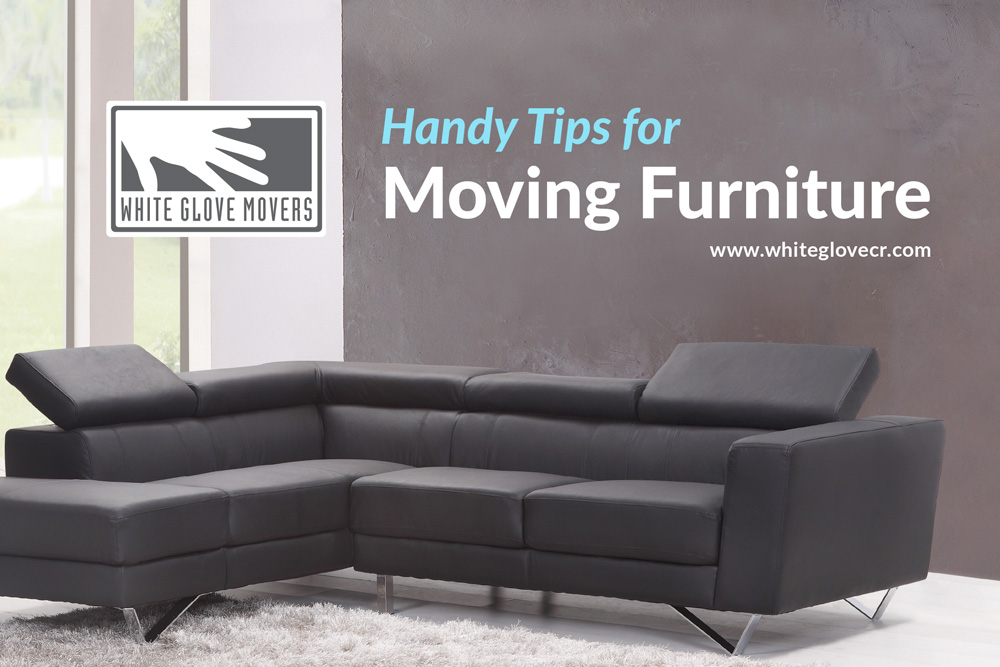
Handy Tips for Moving Furniture

Sometimes the most stressful part of moving isn’t coordinating all of your tasks, sometimes it can be the act of literally moving your belongings. Now doubt you’ve spent plenty of time scheduling service changes, booking the rental truck, reaching out to people to help you, and more. Next will come the actual moving.

When you look around your current space and assess all of the pieces of furniture you need to move, consider the following tips for making the process a smoother, easier one.

Double up – When moving bulky pieces of furniture such as shelving units, hutches, and filing cabinets, be sure to grab a buddy. It will be much easier to tip the item backward at an angle so one person can carry the bottom and the other carries the top. Not only will this be easier on both of you, but it centers the weight of the piece and keeps it from moving beyond your control. It will be much easier to move items up and down stairs this way too since the angle will almost match the slope of the stairs.

Curl chairs around corners and door frames – Maneuvering furniture around corners and through doorways can be one of the oddest parts about moving. When moving chairs in and out of rooms, consider “hooking” them. To do this, turn the chair on its side so it looks like an “L”. Then move the chair back-first through the doorway or around the corner. You’ll then be able to curl (or hook) it around the door frame so it slips clearly through.

Stand sofas up – Ahh, the dreaded sofa. One of the trickiest parts about moving. Most of the time it will be stressful and impossible to move a couch horizontally into the room. Consider standing the couch on end before you enter the hallway. You should be able to hook it through the door and if it’s a little bit taller than the door frame, start the top away from the door so you’ll have plenty of clearance.

Use lifting straps on heavy objects – For your particularly heavy items such as safes and cabinets, be sure to track down a pair of lifting straps. Such straps can be adjusted to different-length objects and for different-sized movers. Take a look at Amazon to see what’s in stock or at your local home center. These straps will take the pressure off your back and other large muscle groups so you don’t have to worry about injuring yourself or helpers.

Avoid lifting when you can – There’s no point in lifting heavy pieces of furniture when you can slide or drag them. While you’re out and about (or shopping online) looking for lifting straps, be sure to locate the furniture slides. If you can’t find any, make your own out of plastic container covers, moving blankets, towels, and other objects. Place the sliders under each corner of the piece of furniture and slide it to the desired spot – no lifting required!

How to Pack and Move Oddly Shaped Items

In the midst of planning for your move, you’ve probably been thinking of the different sizes of boxes you’ll need. Though you’ll likely be able to fit most of your belongings into regular square cardboard boxes, you’re likely to come across household items that are not regularly shaped. If you’re wondering how you’ll pack cylindrical, triangular, and very long items, then you may find the following solutions below helpful.

Packing round items

Round objects such as extra car tires, wheels, and footballs. These items should be moved in packaging containers that are proper sizes. As with any other object being moved out of your home, wrap round items with a flexible packing material such as bubble wrap, Kraft paper, or foam sheets before putting them inside the boxes.

After you’ve placed the round object into the box, fill the empty space with extra material to prevent it from shifting around in transit. It’s also recommended to place some cushioning material on the bottom of the box so the item is completely protected.

Keep in mind that the longer the item, the more fragile its midsection is, therefore the risk of it snapping and breaking increases. If you’re working with a professional residential mover, be sure you know the dimensions of their moving truck in case you have to make special arrangements for your oddly shaped items.

If you’re concerned about your unusually long items breaking, take note of where the halfway point is between each end. These middle points are fragile and need extra support, bracing, and cushioning. Take time to cover the entire item with a thick layer of bubble wrap, and then wrap an additional thick layer around each of the ends and the fragile points. This will ensure maximum protection from any jostling that occurs on moving day.

Packing unusually shaped furniture

Chances are you have at least one oddly shaped piece of furniture in your home that’s coming with you to your new space. Whether it’s a bed, table, sofa, chair, bookcase, or hutch, you should decide how to protect this item ahead of time. During your preparations, take a few minutes to look it over and determine if and how it can be dismantled. It if can be dismantled, wrap each piece carefully before placing it onto the moving truck.

A great way to reduce your moving day stress is to work with a team of professional movers. Not only to they have the experience necessary for making the moving process as smooth as possible, but they also know the best ways to pack all of your items to ensure a safe and secure move.

Helpful Tips for Packing Electronics

As folks living in the technological era, no doubt many of us have many electronic devices that need to be considered when moving. From computers to video game systems and stereo equipment, it’ important to ensure your high-dollar investments are packed and moved properly. After all, the cost of moving is high enough. Tacking on the cost of an electronic replacement would be enough to break anyone’s already stretched wallet.

Below are seven tips that will help you prep your electronics the proper way before moving day.

  1. Read the product manual – Though you likely recycled the original box ages ago, hopefully you still have the product manual for your electronic devices. Be sure to following the manufacturer’s advice when packing and storing your item. Though you probably feel like you know everything there is to know about your electronic device, it’s important to remember that the manufacturer knows everything it takes to protect the device. If you no longer have the owner’s manual, visit the official website for the product as most manuals can be found online. If you have trouble locating the moving and storage guidelines for your item, reach out to product support to be sure you’re good to go.
  2. Use the original box when moving – When purchasing a new device, try to save the original box as it will contain the most appropriate packing materials to use when moving. Plus, it will be easier to distinguish your electronics when they’re in their original boxes.
  3. Pack them with quality packing materials – If you no longer have the box your device came with, start with protective packaging such as cartons, newspaper for wrapping, moving tape, scissors, and markers to label each box.
  4. Distinguish cords with colored stickers – Taking your items down before the big move is the easy part, it’s putting them back together that can feel like an impossible game of Tetris. When disassembling devices such as computers, game systems, and stereos, put small colored stickers on every cord and the same colored sticker where that cord connects with the device. This will save you many headaches for reassembling the items in your new space!
  5. Use climate-controlled units when necessary – Certain electronic devices such as TVs and computers are sensitive to temperature. Though it might seem like a pain, you may need to look into getting a climate-controlled unit for storage. Turn to your manufacturer for recommendations on this and remember that the price of storage is far cheaper than replacing one, two, or more of your devices.
  6. Avoid unwanted attention with unmarked boxes – Hopefully you won’t be a victim of theft during your move or at any point beyond, but taking extra precautions never hurt. Consider placing expensive electronics such as TVs, cameras, and stereos in unmarked boxes. If you’re using a storage unit, put these items toward the back so they’re not easily spotted.
  7. Become a wrap artist – It’s important to minimize potential damage to your electronic devices, wrap them with linen or clean paper. Doing so will prevent damage from happening and dust collecting inside of them.

Five Things to Do Before You Move

Moving to a new space is exciting. Whether you’re moving for the fifth or first time, you’re probably dreading it just a little bit, though. The thought of packing all your items in boxes, having to coordinate service transfers, and physically moving your belongings can be overwhelming to anyone. The truth is that moving doesn’t have to be a complete hassle. Below are some tips to make your moving day a smoother and, dare we say, enjoyable process.

Spread out your packing.

Assuming you don’t have to pack up and leave in a hurry, it’s best to pack up your belongings slowly. Give yourself a daily box quota in order to prevent a weekend of non-stop packing. If you’d prefer to start in one room to keep yourself organized, you can start that way. Or it can be beneficial to pack up the items you’re not using right now so you’re not overwhelmed later. Make sure to allow yourself plenty of time and energy to unpack once you’re in your new space.

Use sturdy boxes to pack your items.

Instead of wasting time rounding up spare boxes from work, packages, or from friends and family, turn to your moving company. Most moving companies have shipping supplies including high-quality boxes in a variety of sizes that you can purchase. Swing by their storefront or ask if they can deliver them to you ahead of time so you don’t have to sweat it.

Skip packing your closet.

Ask your professional movers to bring several wardrobe boxes the day of your move. This way instead of stripping all of your items off their hangers, you can simply take them out of the closet and put them right on the bar in the boxes. Plus, you won’t have to iron your clothes when you get to your new home!

Switch your utilities right away.

This one seems obvious, but timing is everything. As soon as you know your closing date, call your utility companies and set up the switch. This is particularly important for those moving into new homes or homes that were previously empty. Keep in mind that arranging a maintenance call to reestablish service might be necessary.

Move your basic items early.

If your new home is a manageable distance from your current space, take basic supplies over the day or night before. Unpacking your bathrooms in advance and having pajamas and clothes for the next couple of days will make the transition smoother.

Imagine yourself in your new home before you get there.

If you put a game plan together ahead of time, you could be hanging pictures while the movers are stacking up their boxes. As soon as you can get unpacked and organized, the faster it will feel like home. If you prefer to move at a slower pace, plan out spots for your favorite pieces of furniture, art, and decor. Even though you may be moving at a slower rate, having a plan will help you feel accomplished nonetheless.